

Complete CI build pipeline for Electron applications using GitHub Actions and Azure Pipelines
Set up automatic CI builds along with auto-versioning for your Electron application


This article is only half-written. It's missing the Github Actions and Azure Pipelines workflows. I will finish it some day, I published this one early because I wanted to share the code-signing part.
As of September 2022, I've been working with Electron for almost 5 years now. If you're reading this at a later date, do the math. The questions I've been asked most during this time always revolved around building, signing, and publishing the apps. Turns out there isn't a cohesive guide out there for setting up a full CI pipeline for Electron apps. Having set it up for Sizzy, WIP, and a few other apps, I feel confident enough to share the setup with you.
You've got the hunger, I've got the burger. Have a seat.

Ingredients
Electron (duh!)
electron-builder — to build and package our app
electron-notarize — Since macOS 10.15, you are required to notarize your apps, or they won't run.
A macOS computer to export certificates from.
Apple code signing certificates (I will tell you how to get these)
Windows code signing certificates (optional— if you want to sign your app for Windows)
Recipe
Getting Apple code signing and distribution certificates
Pay Apple $$$
You need to enrol yourself in the Apple Developer Program to be able to generate certificates. Click here to enrol. You'll need to pay an annual membership fee. (Apple makes the rules, not me)
Create certificates
Once you have enrolled, head over to your Apple Developer Console. Click on 'Create Certificate', and create and download the following certificates:
Developer ID Installer
Developer ID Application
Mac App Distribution (to be able to publish on Mac App Store)
Mac Installer Distribution (this too, for the Mac App Store)
Download these certificates. The file format should be .cer.
Export certificates
For every certificate downloaded above —
Open 'Keychain Acess' on your Mac.
Drag and drop your downloaded
.cerfile in the keychainThe certificate will appear in your Keychain now. Right-click the certificate and click 'Export'
Select the
.p12file format.You will be asked to set a password. Enter a strong password. Remember this, or even better: save it in your password manager. We'll need this later.
You will get a
.p12file. We'll need this later.
Repeat these steps for all the certificates.
Create an API key
Visit this page.
Create a key with 'App Manager' access.
Note down the issuer ID and download the
.p8file. This file is your API key and comes with the name ofAuthKey_<api_key>.p8.Note down the API KEY ID and ISSUER ID visible on this page.
Getting Windows code-signing certificates
There are several stores and resellers online that sell this certificate. The thing you're looking for is a 'Windows Authenticode code signing certificate'.
The two most popular sources to get these are Sectigo and Digicert.
There are two types of certificates available
OV code signing certificate
This is aimed at individual developers and small organizations. This is a reputation-based certificate. Apps distributed with this certificate build a reputation over time and more users download and use the apps. This reputation determines the safety warning Microsoft Defender SmartScreen shows when a new user runs your app. This certificate comes in the form of an encrypted certificate file and hence can be used on CI to build and sign your apps. When buying this certificate, you might have to go through telephone verification, and identity verification, and make sure your business is listed in a public directory.
EV code signing certificate
This is aimed at large enterprises. Getting this certificate is much more difficult compared to the OV certificate. When your app is signed with this certificate, Microsoft immediately trusts your app and you don't need to build any reputation. This certificate comes in the form of a physical USB key, and hence cannot be used on a CI to automate signing. For this reason, we will only concern ourselves with OV certificates in this guide.
Obtaining the certificate
When placing the certificate order, you will be asked to submit a CSR (Certificate Signing Request). To generate a CSR
Open Keychain Access on your Mac.
Head over to Menu -> Keychain Access -> Certificate Assistant -> Request a Certificate from a Certificate Authority...

Enter an email address and the Organization name

Make sure to select 'Save to disk' and 'Let me specify a key pair information'.
Select a location on the disk to save the CSR.
On the next screen, choose the key length to be 4096 bits and the algorithm to be RSA.
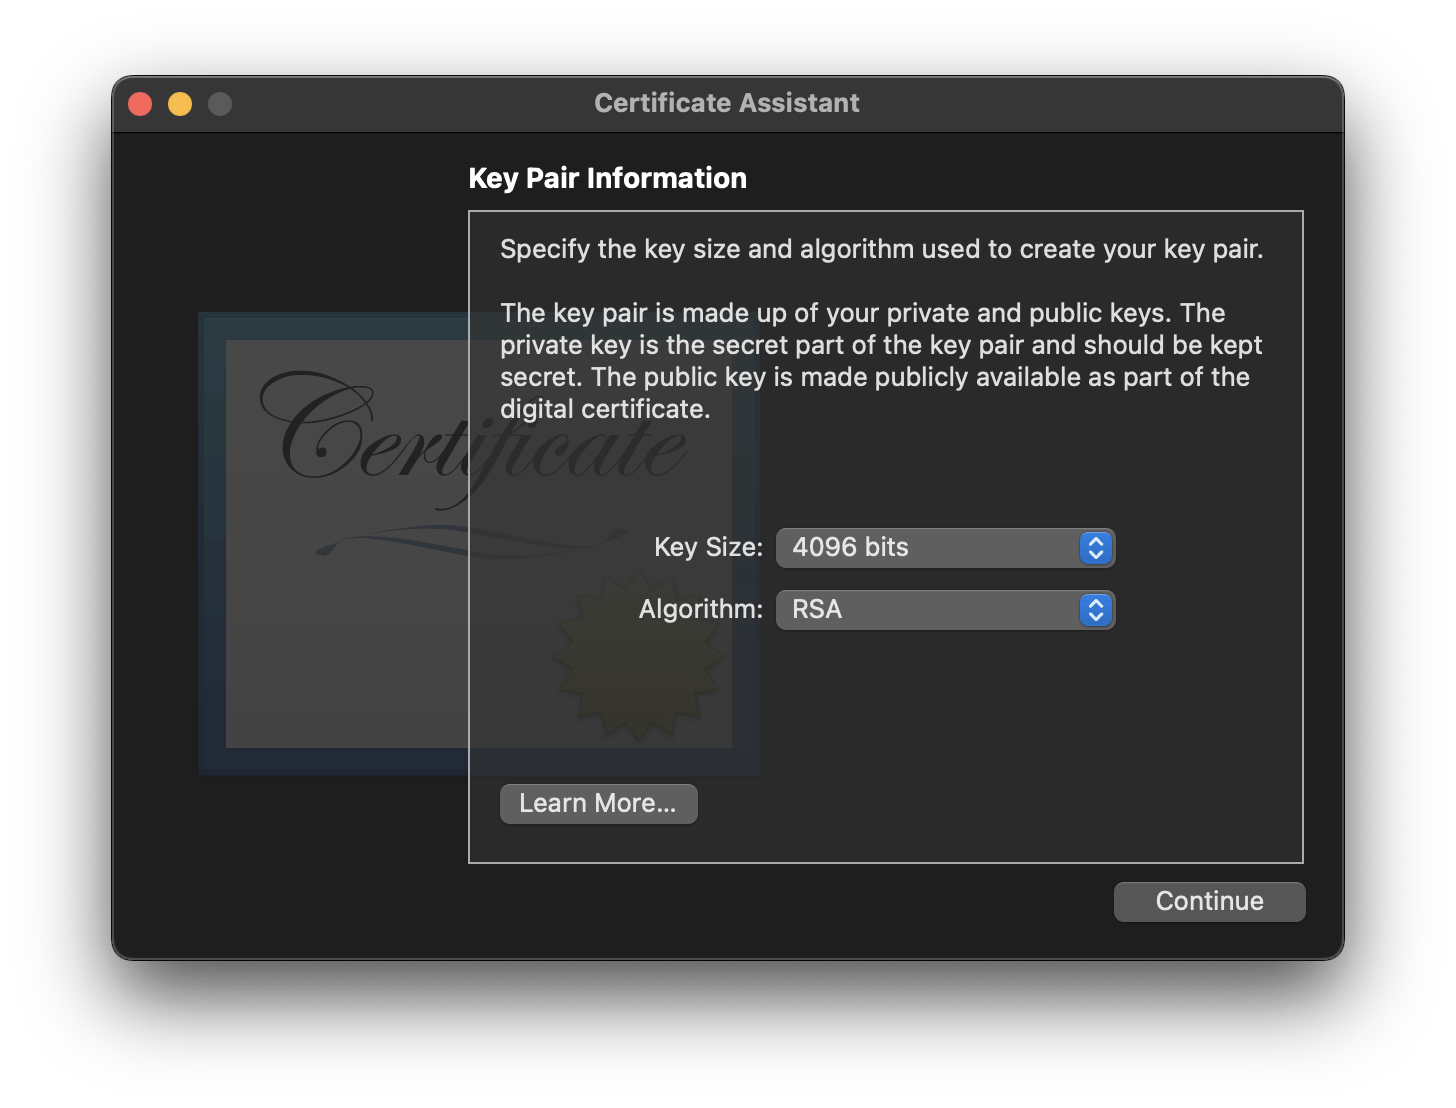
Save the file.
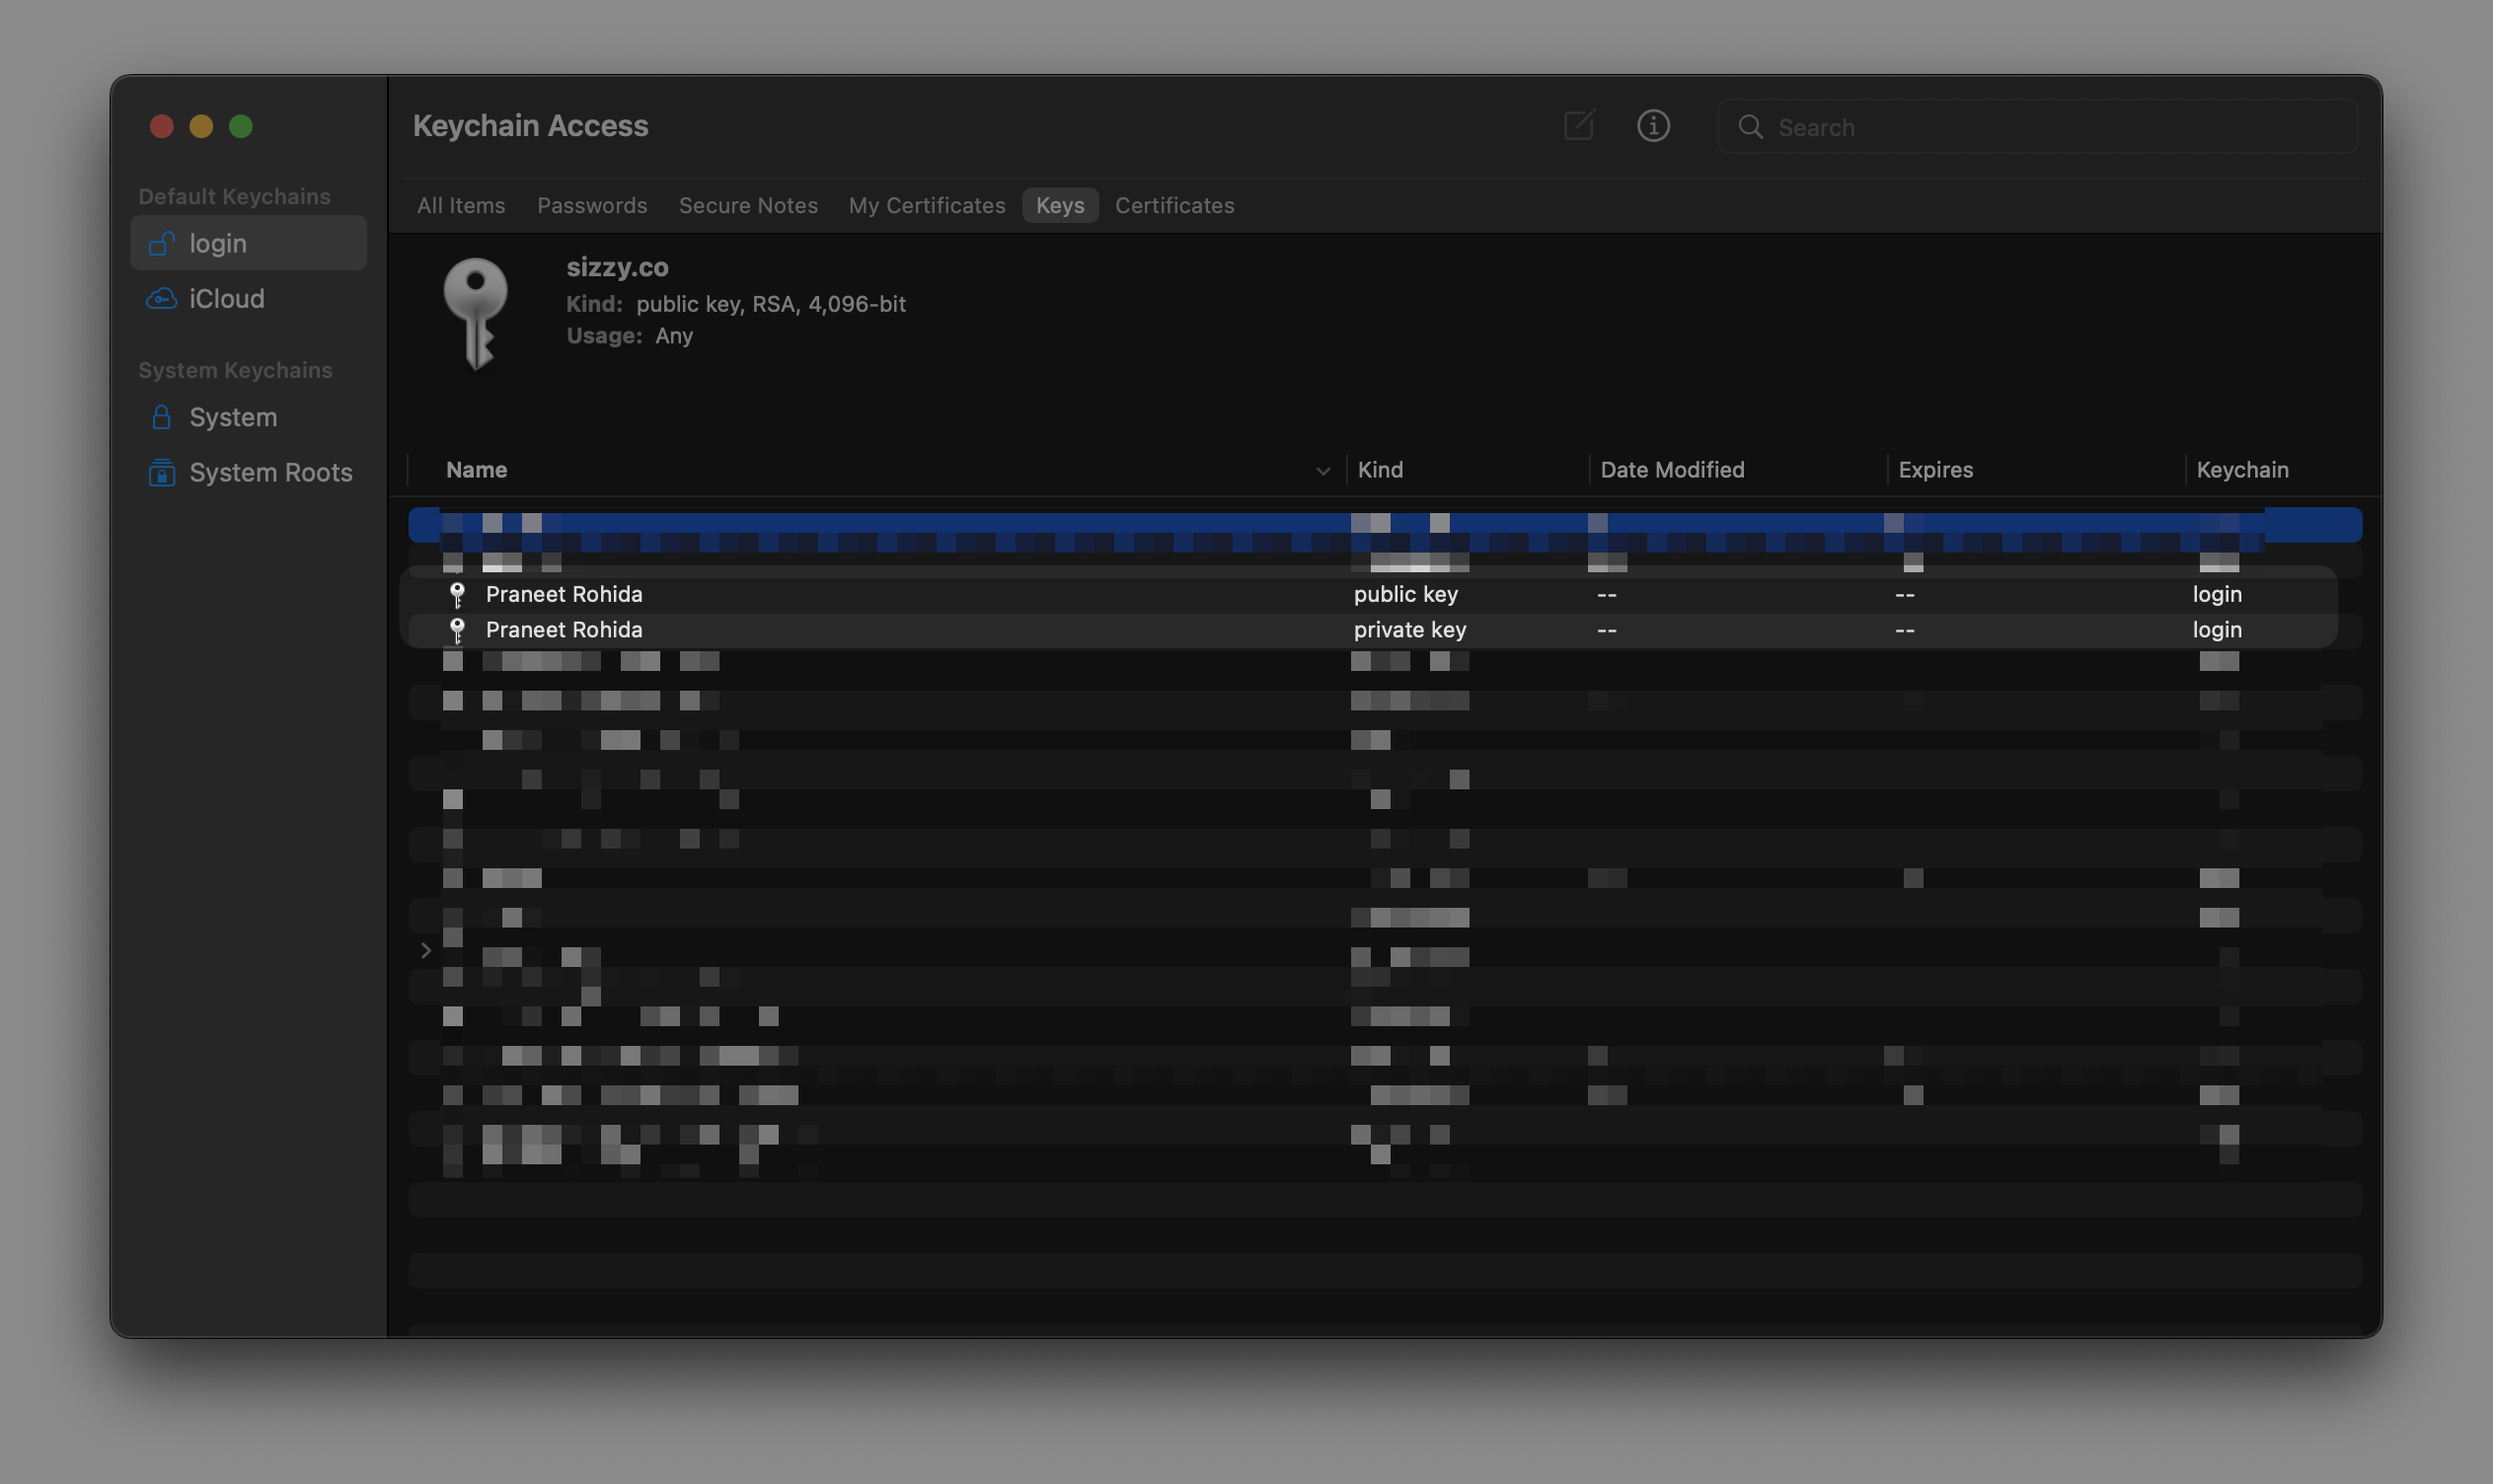
Under the 'Keys' tab in your keychain, you will notice a new pair of keys with the name of your organization. You will need this when you finally receive the certificates.
Head over to the console of your certificate provider, and upload the saved CSR file. If the field is a text input and doesn't allow you to upload a file, open the CSR file in any text editor. The file content will look something like this.

Copy everything and paste it into the text input.
After this, you will have to submit some documents and get your phone, etc. verified. This might take a few days.
Once everything is verified, you will have an option in your certificate provider's console to download the certificate. The downloaded file will have a
.cerextension.Go to the All Items tab in your keychain, and drag and drop the downloaded file.
Now in your Keychain, select the newly imported certificate and the private key generated in step 7.
With the certificate and private key selected, right-click and select 'Export 2 items...'
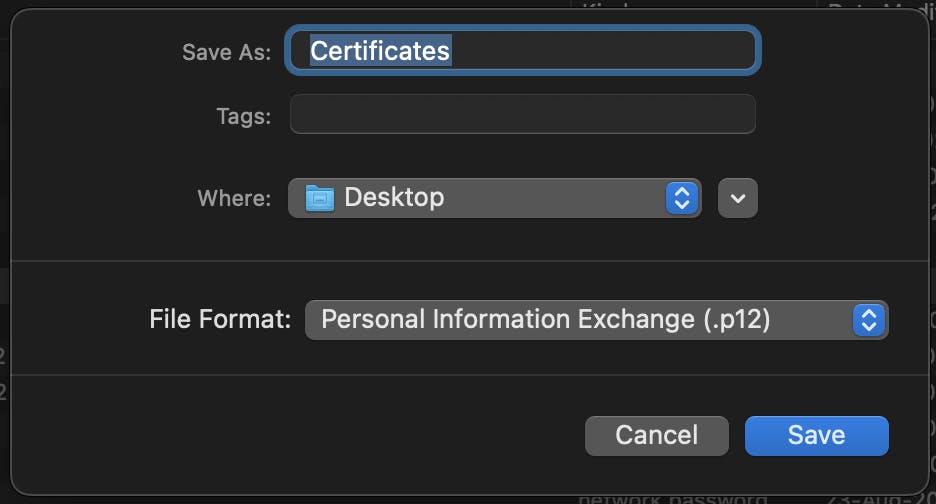
Export the file with a
.p12format.Set a strong password for the certificate. Remember it or even better, save it in a password manager. We'll need this later.
Configuring electron-builder
Create a file called electron-builder.js at the root of your project, and paste the following content
let config = {
  productName: 'Amazing App',
  appId: 'com.praneet.amazing-app',
  afterSign: './after-sign-hook.js',
  extends: null,
  files: ['build/**/*'],
  mac: {
    target: {
      target: 'default',
      arch: ['x64', 'arm64'],
    },
    icon: 'icons/icon.icns',
    hardenedRuntime: true,
    entitlements: 'build/entitlements.mac.plist',
    entitlementsInherit: 'build/entitlements.mac.plist',
    gatekeeperAssess: true,
  },
  mas: {
    hardenedRuntime: false,
    target: {
      target: 'default',
      arch: 'universal',
    },
    entitlements: 'build/entitlements.mac.plist',
    entitlementsInherit: 'build/entitlements.mac.plist',
    provisioningProfile: 'embedded.provisionprofile',
  },
  dmg: {
    sign: false,
  },
  win: {
    target: 'nsis',
    icon: 'icons/icon.png',
    artifactName: '${productName}-${version}.${ext}',
  },
  linux: {
    target: ['AppImage'],
    icon: 'icons/icon.png',
  },
  publish: {
    provider: 'github',
  },
};

module.exports = config;
You might need to tweak the config according to your app. Check out the electron-builder documentation for details.
Notarize your app
Apple requires you to notarize every app you publish for macOS. Create a file called after-sign-hook.js and paste the following content
const fs = require('fs');
const path = require('path');
const { notarize } = require('electron-notarize');
const pRetry = require('p-retry');

module.exports = async function (params) {
  const { electronPlatformName, appOutDir } = params;
  const { SKIP_SIGN } = process.env;

  // Only notarize the app on Mac OS only.
  if (electronPlatformName !== 'darwin' || SKIP_SIGN === 'true') {
    return;
  }

  console.log('afterSign hook triggered');

  // Same appId in electron-builder.
  let appId = 'com.praneet.amazing-app';

  let appPath = path.join(
    appOutDir,
    `${params.packager.appInfo.productFilename}.app`,
  );

  if (!fs.existsSync(appPath)) {
    throw new Error(`Cannot find application at: ${appPath}`);
  }

  console.log(`Notarizing ${appId} found at ${appPath}`);

  const notarizeConfig = {
    appBundleId: appId,
    appPath: appPath,
    appleApiKey: `${process.env.API_KEY_ID}`,
    appleApiKeyId: process.env.API_KEY_ID,
    appleApiIssuer: process.env.APPLE_ISSUER_ID,
  };

  await pRetry(
    (attempt) => {
      console.log('Notarization attempt: ', attempt);
      return notarize(notarizeConfig);
    },
    {
      retries: 5,
      onFailedAttempt: (error) => {
        console.log(
          `Attempt ${error.attemptNumber} failed. There are ${error.retriesLeft} retries left.`,
        );
      },
    },
  );

  console.log(`Done notarizing ${appId}`);
};
Make sure to change the appId to your app's app ID.